Pages

Showing posts with label tutorials. Show all posts

spa rice pillows


Spa rice pillows are a perfect little gift!  Heat in the microwave for 1-2 minutes to soothe achy muscles or to warm toes and fingers on a chilly winter day... Store one in the freezer for bumps, burns and injuries... Or simply place over your eyes to enjoy a relaxing yoga nap!    


Materials:  Makes about 6 pillows ♥
  • 1/4 yd Radiance (a silk/cotton blend) in Taupe, Chartreuse, Slate
  • 1/2 yd Muslin
  • 1-2 c. Rice per pillow
  • a few drop of Essential Oil (optional)


Cutting & Prep:
  • Muslin: cut two each 6"x9" (large) or 5.5"x8" (small)
  • Radiance: strips 2" to 3"x9" (large) or 2" to 3"x8" (small).  About 3-5 strips needed per pillow.
  • Mix essential oil with rice. (Use sparingly as heat activates the scent!)

Stitch strips, one at a time, to muslin.  Use both the front (shiny) and back (matte) of the Radiance as your "right side up" for added beauty.  Use a (roughly) 3/8" seam allowance for all seams.
  • Beginning at one long edge of the muslin, place a strip right side up and a second strip right side down on top of it.  Along the edge of the strips that is closest to the middle of the muslin, stitching one seam through all three layers.
  • Fold the second strip open and finger-press the seam.  Place a third strip right side down on top of the un-sewn edge of the second strip and stitch.  
  • Fold the third strip open, finger-press and repeat with additional strips until the muslin is covered. 
  • Trim extra fabric from edges if needed, and press the entire piece.  
  • Repeat with second piece of muslin to make the pillow back.

  • Place pillow front and back right sides together, and stitch around, leaving a 3" opening at the middle of one long side.  
  • Zig-zag or serge around edge of pillow seam for added strength.
  • Clip the corners and turn pillow right side out.  Poke corners with a knitting needle, chopstick or other corner tool until flat and pointy.  
  • Lightly press pillows, making a nice crease along opening.  (This helps with  hand-stitching them shut later.)
  • Fill pillows with rice: 1 cup (small) to 2 cups (large). 
  • Hand-stitch the opening shut using a ladder stitch. 


page full of stars {template for felt ornaments}


Print out full size on freezer paper cut to 8" x 11".  Lightly iron to felt squares, and cut out! 

picture potholders


Materials: 
• Scraps / 2oz ball Cotton Dishcloth Yarn (Peaches & Creme or Knit Picks Dishie)
• Sz 3.25mm (3 US) Knitting Needles
• Tapestry Needle


Pattern: 
Front "Picture" with Garter Border
CO 30 sts. 
K 8 rows (you will have 4 garter ridges).

[K 5, join scrap color and K 20, join second strand of main color and K 5. 
K 5, P 20 (scrap color), K 5.]

Repeat [*] until "picture" is 32 rows (potholder is 40 rows total).

K 8 rows (4 garter ridges) in main color. BO. 

Back Solid Garter
CO 30 sts. 
K 48 rows (24 garter ridges).
BO. 

Finishing
Secure any loose ends, if they were not woven-in as you knit. No need to thoroughly weave-in ends since they will be hidden inside the potholder. 

Using a 2' length of yarn and tapestry needle, stitch Front & Back tog around all edges, using a basic whip stitch and securing ends. 

Machine wash & dry when your potholder (inevitably) gets dirty!


woodland felt ornaments

Save the images below to your computer and enlarge to print-out onto regular 8.5x11" paper.  
Trace the shapes onto felt, cut out, and glue or stitch together with embroidery floss to create ornaments!  Back each ornament with a solid piece of felt, stitch around the edges using a whip stitch or blanket stitch to finish.  Add a small loop of floss at the top of your ornament so you can hang it up, or create a garland of animals by stitching them to a ribbon.


fitted tablecloth

Materials:
1 5/8 yds 45" Quilting Cotton (trim off unprinted selvedge)

Pattern Notes:
My table measures 49"x34.25" and the tablecloth overhangs by 5".  This way, the 45" wide fabric just fits.  

Stitching Notes:

1. Hem edges of fabric. I like to use my roll hem foot. Doing this first allows me to get an accurate 5" side seam. 
2. Fold corners and sew 5" long seam to create fitted edge. I "rounded" my corners by sewing another seam across the top of the corner, perpendicular to my first seam, about 3/8" from the point of the seam. 
3. Adorn with trim (pom-poms!) if desired. 

bébé blanket

Makes one 42"x46"ish crib blanket.

MATERIALS
Two pieces of Flannel, 1.25yd x 45" wide each
One Fat Quarter of a small print Quilting Cotton (for bias binding)

PATTERN NOTES
Lay flannel pieces wrong sides together (WST), smooth everything out and then trim edges and selvedges to match and square up fabric. Round corners by tracing coffee can / saucer / etc at edges and trim.  Pin edges if desired. 

STITCHING NOTES
Bias Binding - My favorite tutorial is by Jona Giammalva on her "Stop Staring & Start Sewing" blog: 


I cut the binding 2" wide so it wraps around the edge of the quilt nicely. Simply iron it in half, right sides out, no need to fold the edges into the center like traditional bias tape. 

Blanket - Stitch around the edge of the flannel pieces WST, using at 1/4" seam allowance. This will hold the blanket edges together while you stitch on the bias binding. 


Lay the binding's raw edge along the raw edge of the blanket, somewhere in the middle of one side. Leaving a 6" or so binding tail, start stitching binding to blanket using a 3/8" seam allowance, ending about 10" from where you started.  Diagonally seam the two binding tails together - my favorite tutorial is by Monika Kinner-Whalen on her blog "My Sweet Prairie", (including an alternate method of making bias binding):


Finishing - Press the binding along the reverse side of the blanket; you may need to trim the flannel close to your first round to stitching so the binding overlaps all of the stitches.  Handstitch or machine sew the binding to the reverse side of the blanket. Attach a label with the baby's name and a note from you!

pillowcase dress tutorial


Materials:

  • 1 yd of quilting weight cotton fabric for dress
  • 2/3 yd double fold bias tape
  • 3 yds each of ribbons and trims.


Cutting the Ties: Make two 4"x45" (width of fabric) strips for ties.

Cutting the Dress: Fold your dress fabric in half lengthwise (folded edge to selvedge, making four layers) and cut your pattern out along the new fold; thus cutting out the front and back in one fell swoop!

Sewing the Ties:

  • Sew to strips together to make one long 4"x89.5" strip; trim down to 64". 
  •  Use a large bias tape maker to fold your strip while you iron, or fold strip in half and press, then fold edges to center crease and press again. 
  • Tuck the ends of the tie inside, either with a flat (square) end, or a pointed (angled) end. 
  •  Topstitch around all four edges, add ribbons or trims as desired.


Sewing the Dress:

  • Sew dress sides with French seams. 
  •  Finish the arm holes with bias tape; sandwich the bias tape around the raw edge of the armhole fabric and topstitch through all layers in one go. 
  •  Make sure the slightly shorter side of bias tape is facing up, and use a slightly longer stitch length (3 instead of 2.5) to make a nice topstitch.

envelope-back bed pillow


Makes one Standard Pillowcase

Non-Directional Fabric:  1 yard
Directional Fabric:  1 1/6 yards

Cut out one of each piece.  Turn under one 20.5" edge of each of the back pieces 1/2" twice and hem.  With right sides together, lay the Pillow Back onto the Front, then the Back End on top of that; raw edges matching and hemmed edges overlapping about 6".  Stitch all the way around the pillow (1/2" seam allowance), zig-zag edge to finish.

the kim scarf

Use any yarn with needles sized for a loose gauge. CO 19 sts.

***
K 1 row. (Plain Row)

K4, turn work, slip 1, K3. (Short Row)

K6, turn work, slip1, K5. (Medium Row)

K7, K2tog, YO, K1, YO, k2tog, K7. (Increase Row)

Repeat short row.

Repeat medium row.

***

Repeat between ***'s until scarf is desired length or you are almost out of yarn. Bind off sts and weave in ends.

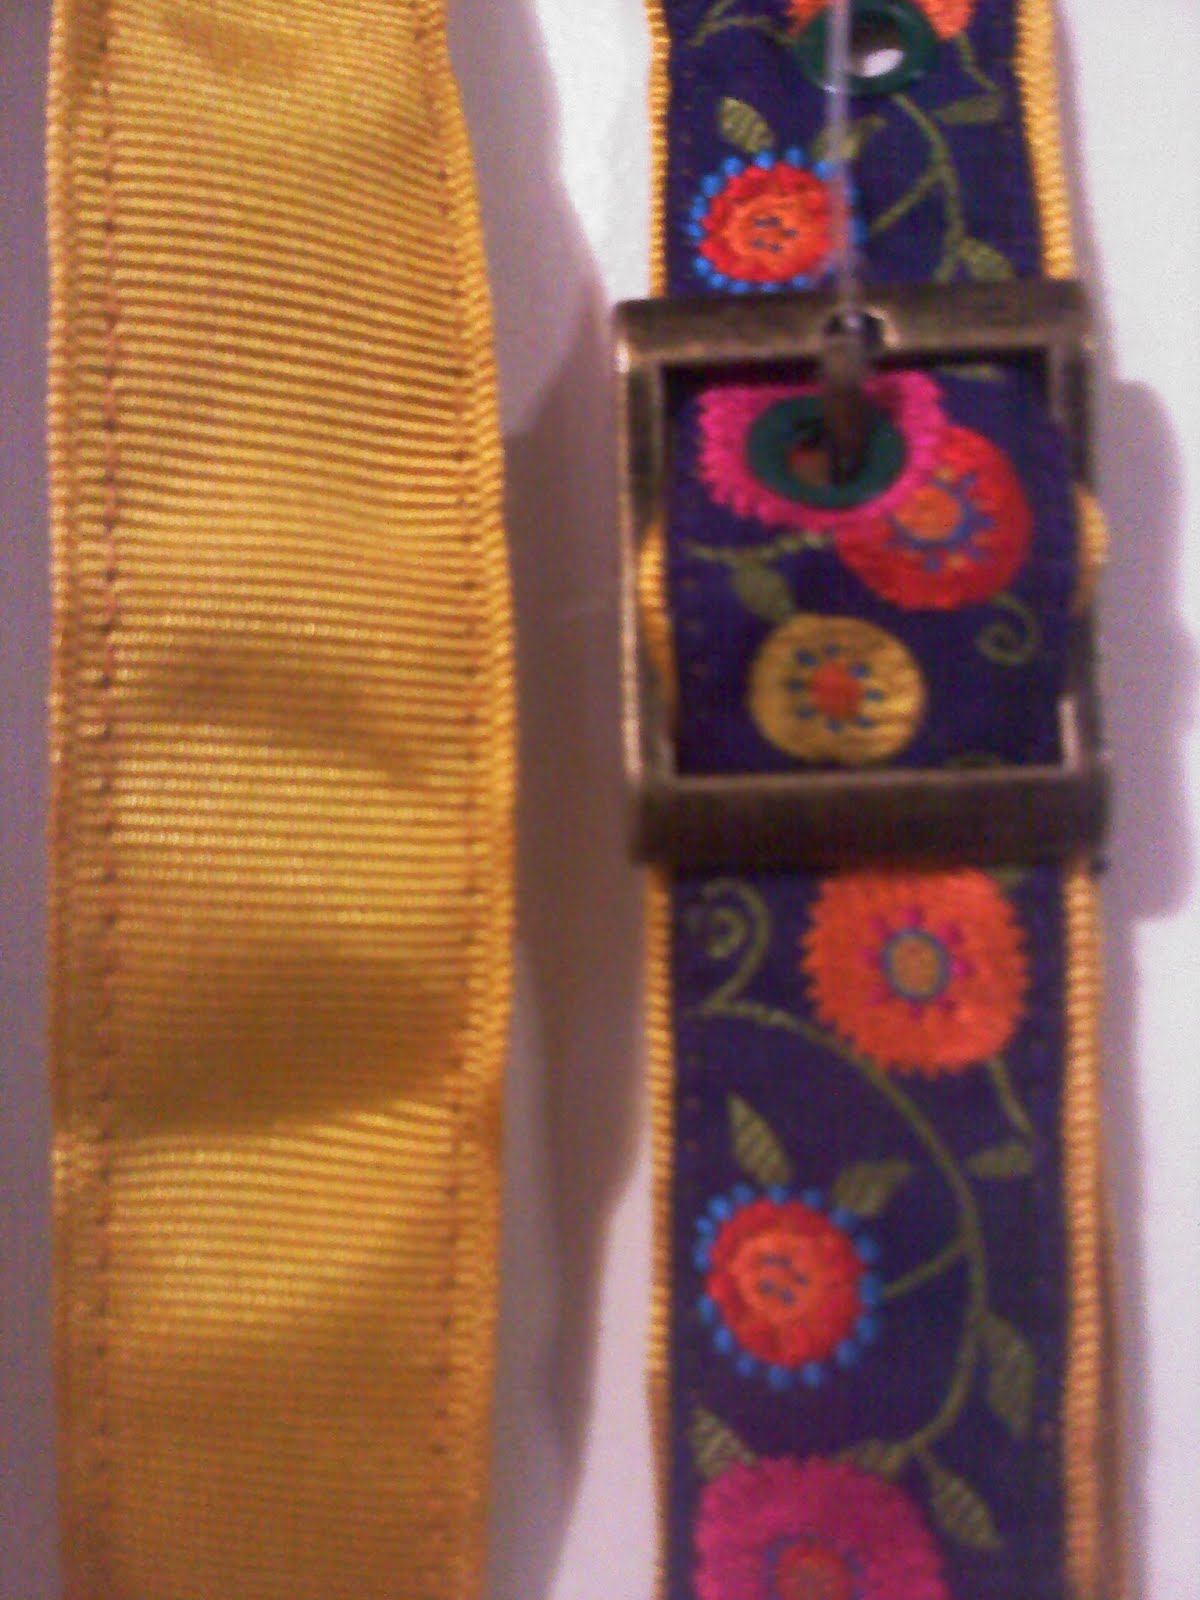
ribbon belt


Women's Size Medium

Materials:
  • 1 + 1/6 yd Woven Ribbon, 7/8" wide
  • 1 + 1/6 yd Grosgrain Ribbon, 1" wide
  •  23mm Buckle
  • Optional: Grommets {I used 5/32"} and Grommet Pliers
Pattern Notes:
  • Little Girls: use 1 yd
  • Woman's Small: use 1 + 1/8 yd
  • Woman's Large: use 1 + 1/4 yd
  • Woman's XL: use 1 + 1/3 yd

Stitching Notes:
  • Fold under ends of Grosgrain and Woven Ribbon, neatly topstitch around edge, right sides facing out. 
  • Make a tiny hole with seam ripper and insert buckle toggle, fold belt around buckle and stitch end of ribbon down by hand or machine.
  • Using grommets, hand-embroidered eyelets or machine-stitched eyelets, create buckle holes at opposite end of belt, starting 3" from end and making six or so holes, 1" apart.

daybed pillow covers


MATERIALS 
Makes three 26x28" Pillow Covers - Twin Flat Vintage Sheet

PATTERN NOTES  
Measure Pillow (26x28") and add 1" for seam allowance for Front Piece (27x29"), cut 3. 

Envelope Back: 2/3 pillow height (28 x .666 = 18.5") for Back Pieces (27x18.5"), cut 6.
  • Use hem of sheet for backs, so no seam allowance is needed on 18.5"
  • I had to use scrap pieces to make one back, and added seam allowance to it.

STITCHING NOTES  
If needed, stitch scraps together to make additional back piece, press seam flat.  Use roll-hem foot to quickly hem one 27" edge.  

Place one Front Piece RSU*, and outer Back Piece RSD* on top, aligning top 27" edge and sides. This back piece will show, so pick the nicest finished edge.  My sheet had a large white hem at top, so I used that to give the pillow a polished finish. 

Place second Back Piece (this one will be underneath) on top RSD*, aligning bottom 27" edge and sides.  (Use the pieced together Back Piece for this side).
  • Pin all around pillow, especially through all layers at sides.
  • Stitch around pillow, pivoting at corners and using a 1/2" seam allowance.
  • Clip corners and turn pillow cover right side out through envelope back.
  • Press if needed and insert pillows inside! 
*Glossary:  RSU = right side up, RSD = right side down, RDT = right sides together

voile scarf {anna maria horner}


Figuring the Eight {Anna Maria Horner}


Materials:
  • Two 1/2 yd cuts of 54" Voile
 Pattern Notes: 
  • Cut each Voile into two 9"x54" pieces. 
  • 3/8" Seam Allowance.
 Stitching Notes:
  • Stitch each Voile to itself along 9" edge (now 9"x108"), trim ends by 15" to make 9"x78" Scarf Piece.
  • Pin Scarf Pieces RST and stitch along both 78" edges.  
  • Pink seams and turn scarf right side out.
  • Pin one 9" edge to matching Voile and stitch, leaving other edge open.  Press entire scarf & opening.
  • Topstitch 1/4" away from each circular edge to prevent edges from rolling.
  • Handstitch opening closed.

petal pillow {fabric-by-fabric one-yard wonders}


Materials:
  • 1 yd 54" Corduroy or 45" Essex Linen
  • Pillow Stuffing and Buttons 
 Pattern Notes: 
  • Cut two 4.5" strips from folded 54" edge to make four Side Pieces (4.5"x23").
  • Fit two Top/Bottom Pieces in remaining folded fabric, makes four.  
  • Cut 3" strips from remaining fabric and alternate Petal Pattern to cut as many as possible.
 Stitching Notes:
  • After stitching petals to pillow + checking fullness, topstitch petal bases in place to hold petals flat.
  • Stitch one end of Side Piece making one long piece. 
    • Stitch to Top Piece (fold petals back), fold edge of Side Piece at beginning and overlap end.
    • Stitch Bottom Piece to Side Piece, fold edge of Side Piece at beginning and overlap end.
  • Stuff Pillow through folded opening in Side Piece and hand-stitch shut.